How to manage conference rooms to avoid double-booking
Having multiple conference rooms for booking job locations can be challenging to manage. If you create each conference room as a Location, then you will not know which conference rooms are already booked when you are scheduling a job.
Instead, create each conference room as a Resource, so that RB8 tracks them on its resource schedule to determine what is available.
Note
Before you can set up conference rooms as resources, go to Tools > Code Manager > Resources > Type. Check if “Conference Room” is listed. If not, then create it here (see “Adding drop-down entries” in the RB8 User Guide for instructions).
Setting up conference rooms as resources
After adding Conference Room as a resource type, set up each conference room you use as a resource, not a location.
- On the menu bar in RB8, click Setup > Resources.
- Click Actions (or right-click on the grid), then choose New.
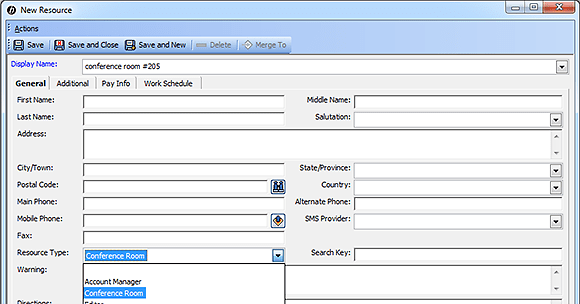
- In the New Resource window, the General tab is automatically selected. In addition to entering required information, select Conference Room in the Resource Type drop-down.

- Click the Pay Info tab.
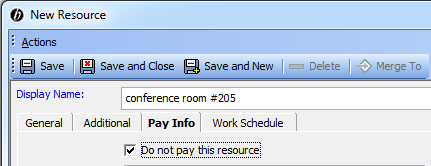
- Check Do not pay this resource, if this is your own conference room. Otherwise, if this is a room you rent from a third party, leave this unchecked and enter payment information (see “Setting up resources” in the RB8 User Guide for instructions).
- Click Save.

Scheduling conference rooms
- When booking a job in RB8’s Calendar Manager, select Resource in Lookup From on the Location tab.

- In the Lookup Resource window’s Search Criteria, select Conference Room as the Resource Type and click Search.
- Select the conference room.
- Enter other info as needed and click Save.
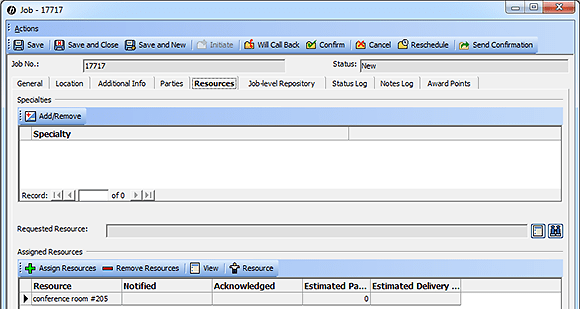
- Click the Resources tab that appears and under Assigned Resources, click Assign Resources.
- In the Assign Resources window, select Conference Room as the Resource Type and click Search.
- Check the conference room’s Assign box.
- Click Save and Close.

Important
- Selecting a conference room as a location is not enough. You want to make sure you do not double-book a room. If a conference room is assigned as a resource to a different job at the same time, then the room will not appear in the Assign Resources window.
- Using Assign Resources sends the conference room location a confirmation email if they have one.
- Under Calendar > Resource Availability, you can look at the current or future dates to see which rooms you’ve booked and/or have available.

Listed under Best Practices, Increasing productivity, RB instructions, RB8, Reference, ReporterBase Tagged Assign Resources, Calendar Manager, Code Manager, conference room, resources
